Crochet guide
No-Sew Amigurumi: The Smartest Way for Beginners to Start
The dirty secret of amigurumi
Ask experienced makers what ruins cute crochet animals and you'll hear the same answer: the sewing. Crocheting the pieces is the fun part — then assembly turns a cute head and body into a lopsided creature with a wandering ear. No-sew amigurumi patterns solve this by constructing the animal as continuous pieces with integrated details, so there's little or nothing to stitch together at the end.
What 'no-sew' actually means
In a no-sew (or low-sew) pattern, body parts grow out of the main piece as you crochet: ears are worked directly into a round, limbs continue from the body, and shaping happens through increases and decreases rather than separate parts. The result looks more professional and symmetrical — precisely because your sewing skills never enter the picture.
Why it's the right entry point for beginners
- You only need single crochet and basic increases/decreases — the stitches you already know
- Small projects finish in a single sitting (1–3 hours), which keeps motivation high
- Mistakes are cheap: a small amigurumi uses under 50g of yarn
- The finished result is giftable immediately — no blocking, no borders, no assembly anxiety
Good first no-sew projects
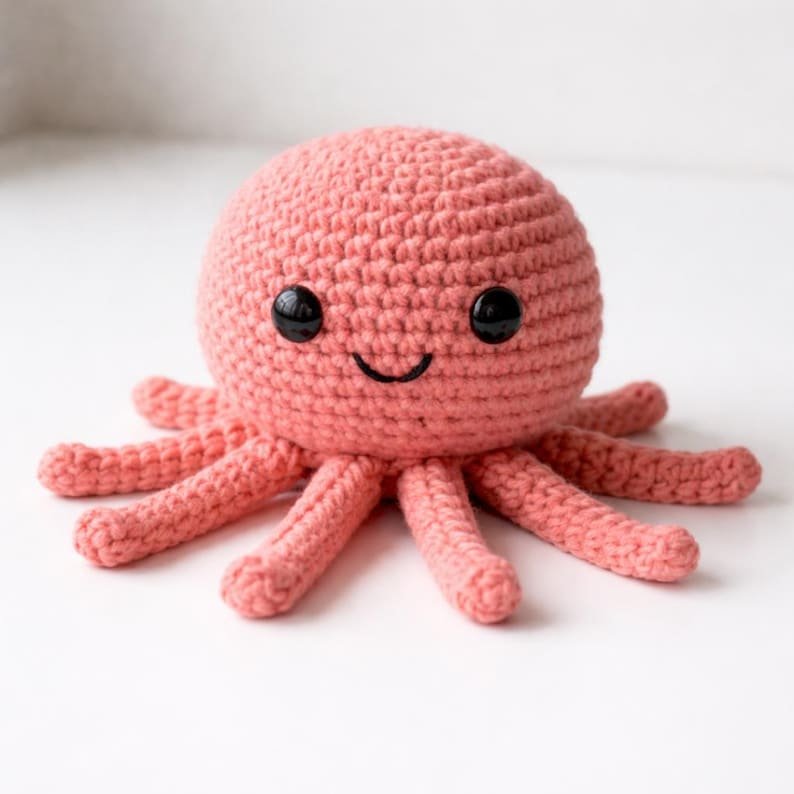
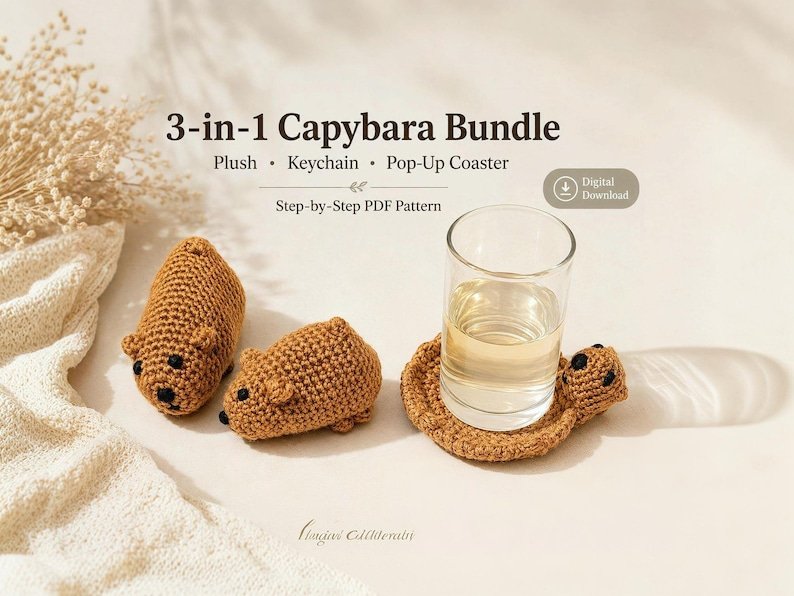
Start with a single-piece character like our octopus cable organizer — one ball, eight tentacles, only single crochet, about two hours, and it does a real job on your desk afterwards. When you're ready for shaping practice, a no-sew capybara plush teaches body contouring, and the keychain version makes the skill portable.
Can you sell what you make?
With our patterns, yes — finished handmade items may be sold, and small amigurumi are consistently among the best sellers at craft markets. Capybaras especially: the internet's favorite animal earns its table space.